Wondering if a home workout no equipment routine is really enough to build strength, or if you actually need a gym membership? Current fitness guidelines confirm that your own body weight provides highly effective resistance when you train consistently and progress gradually. In this comprehensive guide, we break down a complete five-part routine, a four-week progression plan, and essential safety tips backed by WHO and ACSM data. Whether you are building your first regimen or looking to master foundational home work out exercises, this blueprint gives you everything you need to get fit from your living room.
Why a No-Equipment Home Workout Is Enough to Start
A no-equipment home workout is enough to start because your body weight already provides real resistance. The 2026 American College of Sports Medicine (ACSM) position stand, built on 137 systematic reviews, found that bodyweight and home-based routines bring marked gains in strength, muscle size and physical function. The WHO and US guidelines both ask adults for muscle-strengthening activity on at least two days a week, and push-ups count.
Using Bodyweight, Leverage and Tempo as Resistance
You can change how hard an exercise feels without adding weight by adjusting leverage, tempo and pauses. Leverage is the angle of your body. A push-up with your hands on a kitchen counter is easier than one on the floor, and a push-up with your feet on a sofa is harder. The movement is the same, but the load on your muscles is very different.
Tempo is how fast you move. Lowering yourself for three seconds makes a squat feel heavier than dropping quickly. A 2017 meta-analysis in the Journal of Strength and Conditioning Research found that lighter loads taken close to fatigue build muscle size similarly to heavy loads, although heavy loads still produce larger strength gains. This is why home workout exercises without equipment can work when the effort is genuine.
Three ways to make any bodyweight move harder:
- Change leverage: raise your feet, shift to one leg or bring your hands closer together.
- Slow the tempo: take three seconds to lower and one second to rise.
- Add a pause: hold the hardest point of the movement for one to two seconds.
Who Benefits Most From an Equipment-Free Routine
An equipment-free routine suits beginners, travelers, busy people and anyone on a tight budget. Many Europeans remain inactive. The European Commission’s 2026 Eurobarometer, which surveyed 26,508 people in April and May 2026, found that 39% never exercise or play sport, down from 45% in 2022. In the United States, ACSM notes that about 60% of adults do no muscle-strengthening exercise at all.
Cost matters too. In media coverage of the same survey, 54% of people who struggle to pay their bills said they never exercise, compared with 26% of people who rarely or never have money worries. A routine that needs only floor space and a chair removes one barrier, and we hope that makes starting feel more possible.
This routine may be a good fit if you:
- are new to exercise or returning after a long break
- travel often or live in a small space
- want to avoid gym fees and equipment costs
- prefer short sessions that fit around work and family
Now that you know why this approach works and who it helps, let us move to the practical part. The next section gives you a full routine, with step-by-step cues for every exercise and clear guidance on repetitions, rounds and rest.
Full Home Workout Routine Without Equipment
A complete session has five parts: a warm-up, then four strength blocks for your legs, pushing muscles, pulling muscles and core. Together they take roughly 35 to 40 minutes and train every major muscle group, as WHO guidelines advise. Do the session on two or three non-consecutive days each week, and keep at least one rest day between sessions.
Warm-Up: Five Minutes of Mobility and Pulse Raisers
A warm-up gently raises your heart rate and moves your joints through the ranges you are about to use. A pulse raiser is any easy, rhythmic movement, such as marching in place, that increases your heart rate and body temperature. Mobility drills then take your shoulders, hips and spine through comfortable motion. Together they make your first working set feel smoother, and they suit any home fitness routine with no equipment.
Follow this five-minute checklist in order:
- March in place with low, quiet steps: 60 seconds.
- Arm circles: 30 seconds forward and 30 seconds backward.
- Hip circles: 30 seconds in each direction.
- Inchworm walk-outs: stand, fold forward, walk your hands out to a plank and walk back. Repeat five times.
- Cat-cow on hands and knees, moving slowly with your breathing: 60 seconds.
Block 1: Squats, Reverse Lunges and Glute Bridges
Block 1 trains your thighs and glutes, the largest muscle groups in your body. Working them first, while you are fresh, lets you use good form on the biggest movements. Move through the three exercises in order, rest, and repeat. If any move feels too hard, shorten the range or hold a wall or counter for balance.
Form checklist:
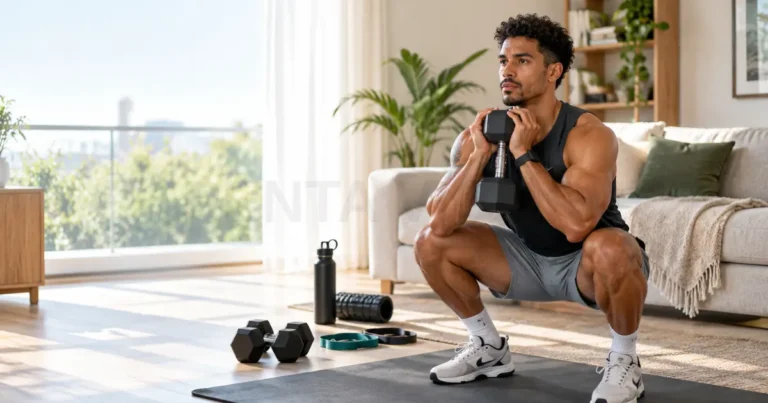
- Squat: stand with feet shoulder-width apart, push your hips back and down, keep your chest tall and your knees in line with your toes, then stand by pressing through your whole foot.
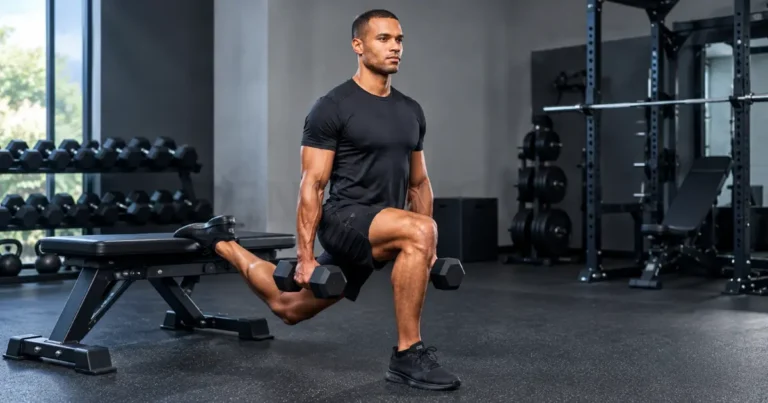
- Reverse lunge: step one foot back, lower your back knee toward the floor, then press through your front heel to return. Alternate legs.
- Glute bridge: lie on your back with knees bent and feet hip-width apart, lift your hips until shoulders, hips and knees form a line, pause for one second and lower slowly.
- Easier option: squat down to a chair and lightly touch it, and hold a wall during lunges.
Block 2: Push-Ups, Pike Push-Ups and Tricep Dips
Block 2 trains your chest, shoulders and the backs of your arms. The push-up is a proven choice: in an eight-week trial in untrained men, push-ups performed to fatigue produced muscle growth and strength gains comparable to a low-load bench press. Pike push-ups shift more of the work to your shoulders, and chair dips add triceps work.
Form checklist:
- Push-up: place your hands slightly wider than your shoulders, keep your body in a straight line, lower your chest toward the floor and press back up. Use a counter or your knees to make it easier.
- Pike push-up: start with your hips high in an inverted V, bend your elbows to lower the top of your head toward the floor between your hands, then press back up.
- Chair dip: sit on the edge of a stable chair, place your hands beside your hips, slide forward and lower until your elbows reach about 90 degrees, then press up. Read the safety notes below first.
Block 3: Towel Rows and Prone Back Extensions
Block 3 trains your back, which balances the pushing work in Block 2 and supports an upright posture. Pulling is the hardest movement to do without equipment, so we use a towel and a solid anchor. These home fitness exercises without equipment need only a towel and a sturdy door or post.
Form checklist:
- Towel row: loop a towel around a solid post, or around the handle of a closed, latched door that opens away from you, and hold both ends. Test the anchor gently, keep your fingers away from the hinge side, lean back with a straight body, then pull your chest toward your hands.
- No anchor? Lie face down on a smooth floor with a towel under your hands and drag it toward your ribs, squeezing your shoulder blades together.
- Prone back extension: lie face down with arms by your sides, lift your chest a few inches while looking at the floor, hold for two seconds and lower. Keep your neck long and avoid arching hard.
Block 4: Plank, Dead Bug and Mountain Climbers
Block 4 trains your trunk to stay stable while your arms and legs move. Controlled core muscles support your posture in every exercise above. Keep the pace slow and your breathing steady, and end a set when your lower back starts to sag or arch.
- Plank: hold a straight line from head to heels on your forearms.
- Dead bug: on your back, slowly lower the opposite arm and leg while your lower back stays flat.
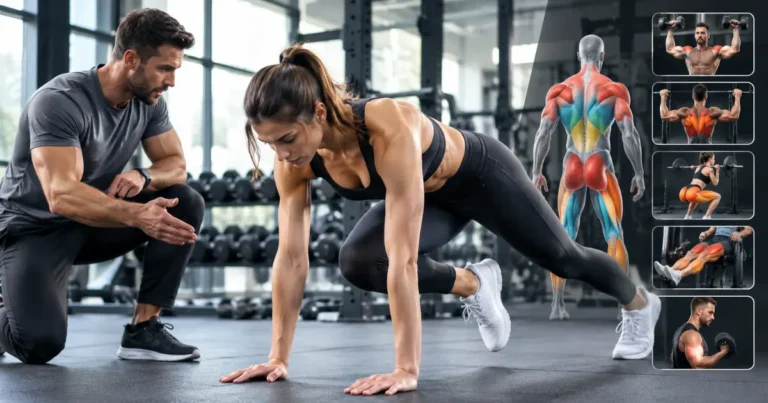
- Mountain climbers: from a high plank, drive your knees toward your chest at a pace you can control.
Reps, Rounds and Rest for Each Block
Complete every exercise in a block once, then rest, and repeat for the rounds shown. Move between exercises within a round with about 15 seconds of rest. Choose the lower end of each range in your first week, and the higher end as you feel stronger.
Block | Exercises | Reps or time per round | Rounds | Rest after each round |
Block 1 | Squat, reverse lunge, glute bridge | 12-15; 8-10 per leg; 12-15 | 3 | 60-90 seconds |
Block 2 | Push-up, pike push-up, chair dip | 8-12; 6-10; 8-12 | 3 | 60-90 seconds |
Block 3 | Towel row, prone back extension | 8-12; 10-12 with a 2-second hold | 3 | 60-90 seconds |
Block 4 | Plank, dead bug, mountain climbers | 20-40 seconds; 8-10 per side; 20-30 seconds | 2 | 45-60 seconds |
Stop each set with one to three repetitions still in reserve. ACSM’s 2026 review found that training to complete muscle failure did not consistently improve outcomes for healthy adults, so you can finish with clean form instead. Over two sessions a week, this plan gives about 12 hard sets for your legs and chest, close to the roughly 10 weekly sets ACSM links with muscle growth. Next, we show how to progress it.
Home Workout Program Without Equipment: Four-Week Progression
A four-week progression raises the challenge gradually by adding repetitions, rounds, slower tempo or harder variations. ACSM advises healthy adults to use progressive resistance training, meaning the work becomes slightly harder as you adapt. This 4 week plan keeps changes small so your joints and tendons can keep pace, which makes a home workout program without equipment easier to stick with.
Week | Sessions | Rounds (Blocks 1-3) | Focus |
Week 1 | 2 | 2 | Learn the form with easier variations. Stop each set with about three repetitions in reserve. |
Week 2 | 2 to 3 | 3 | Keep the same variations and add one or two repetitions to each set. |
Week 3 | 3 | 3 | Slow the tempo: take three seconds to lower on every repetition. |
Week 4 | 3 | 3 | Choose harder variations, such as feet-elevated push-ups, backpack squats and single-leg bridges. |
Block 4 stays at two rounds throughout. On other days, add 20 to 30 minutes of brisk walking or cycling to work toward the WHO target of 150 to 300 minutes of moderate aerobic activity per week. If a week feels too hard, repeat it before moving on. Progress is not a race.
Using Household Items as Makeshift Equipment
Household items can add resistance once your bodyweight moves start to feel easy. Use them only after your form is solid, and start light. A backpack, a few water bottles and a sturdy chair are enough to progress most exercises in this routine.
- Backpack: fill it with books and hold it against your chest for squats and lunges, or wear it for push-ups. Fasten all straps so the load cannot shift.
- Water bottles: a 1.5-liter bottle weighs about 1.5 kilograms (3.3 pounds). Hold one in each hand during squats and lunges, and choose plastic rather than glass.
- Chair: use it for incline push-ups, sit-to-stand squats, step-ups and dips, with the chair pushed against a wall.
- Towel: use it for rows and, on a smooth floor, as a slider for slow mountain climbers.
Adding load is optional, but safety never is. In the next section, we explain how to protect your joints, which warning signs to watch for, and when it is wise to talk with a professional before you begin or continue.
Staying Safe With No-Equipment Exercise
Bodyweight exercise is generally safe for healthy adults. According to the 2026 ACSM position stand, adverse events during resistance training are no more frequent than during aerobic exercise. Good form and sensible progression are your main tools for joint safety, so we recommend increasing difficulty slowly and ending a set when your technique breaks down.
The 2020 European Society of Cardiology (ESC) guidelines on sports cardiology stress the clear benefits of regular exercise, while treating cardiac symptoms and unexplained fainting as reasons for medical assessment. For that reason, we suggest speaking with your doctor before starting if any of the following apply to you.
Talk to a doctor before you start if you:
- have a heart, lung, kidney or metabolic condition, such as diabetes
- have high blood pressure that is not well controlled
- are pregnant or recently gave birth
- are recovering from surgery or an injury
- have had chest pain, fainting or unusual breathlessness during activity
- are unsure whether exercise is right for you
Muscle burn and tiredness are normal during exercise, but sharp or unusual symptoms are not. Stop immediately if you notice any sign below. For the first four, call emergency services: 112 in the European Union or 911 in the United States.
Stop checklist:
- chest pain, pressure or tightness
- fainting or severe dizziness
- sudden or severe shortness of breath
- a racing or irregular heartbeat that does not settle within a few minutes of rest
- sharp or pinching joint pain, numbness or tingling (rest, and see a clinician if it persists)
Choosing Stable Furniture for Dips and Step-Ups
A stable chair or step must not move, tip or slide when you put your full weight on it. Furniture safety matters most during dips and step-ups, because a sliding chair can cause a fall. A little preparation makes workouts at home without equipment safer, especially if you share a small space.
Furniture checklist:
- Choose a solid chair or bench without wheels, and avoid folding, swivel or plastic garden chairs.
- Push the chair against a wall so it cannot slide backward.
- Test it first by pressing down with your full weight.
- Place a non-slip mat under the chair legs on smooth floors.
- For step-ups, use a step no higher than your knee and keep your whole foot on the surface.
- Clear toys, cables and loose rugs from the space around you.
Chair dips place your arms behind your body, which can load the front of the shoulder more than most triceps exercises. Keep your hips close to the chair, lower only until your elbows reach about 90 degrees, and stop if you feel pinching. If you have had a shoulder injury, choose close-grip push-ups instead. Finally, let us answer the questions we hear most often.
No-Equipment Home Workout FAQs
Below, we answer the most common questions about home fitness with no equipment. These answers offer general information for healthy adults and do not replace personal advice from your doctor or physical therapist (called a physiotherapist in Europe). If you live with a chronic condition, are pregnant or are recovering from an injury, please ask a professional to tailor the plan.
How Many Days a Week Should You Do a No-Equipment Workout?
Two to three non-consecutive days a week is a sound target for most healthy adults. WHO, US guidelines and ACSM all advise training the major muscle groups at least twice weekly. Most workouts for home, no equipment needed, are full-body, so rest days let your muscles recover. A 2022 meta-analysis of cohort studies linked about 30 to 60 minutes of weekly muscle-strengthening with the largest reduction in risk of death, although such studies cannot prove cause.
Can You Build Muscle Without Equipment at Home?
Yes, you can build muscle at home without equipment, especially if you are new to training. The keys are effort and progression. ACSM links muscle growth with roughly 10 hard sets per muscle group per week, and a 2017 meta-analysis found that lighter loads taken close to fatigue build size similarly to heavy loads. Over time, advanced trainees may need harder variations, such as single-leg exercises, to keep progressing a home workout routine without equipment.
What Is the Best No-Equipment Exercise for Fat Loss?
No single exercise can burn fat from a chosen area of your body. A 2021 meta-analysis of 13 studies with more than 1,100 participants found that training a muscle locally does not reduce the fat stored nearby. For fat loss, combine full-body strength work such as squats and push-ups with regular aerobic activity and balanced eating. A home exercise program with no equipment can cover the strength part, ideally with guidance from a doctor or dietitian.
A home workout no equipment routine can meet the muscle-strengthening guidelines of WHO and the US government when you train with steady effort and progress gradually. In this guide, we explained why bodyweight resistance works, showed a five-part routine with reps, rounds and rest, outlined a four-week progression and covered safety. If you have questions about adapting the plan, please share them in the comments below. For a wider view, read our pillar guide, Home Workouts Without Equipment: The Complete Bodyweight Training Guide.